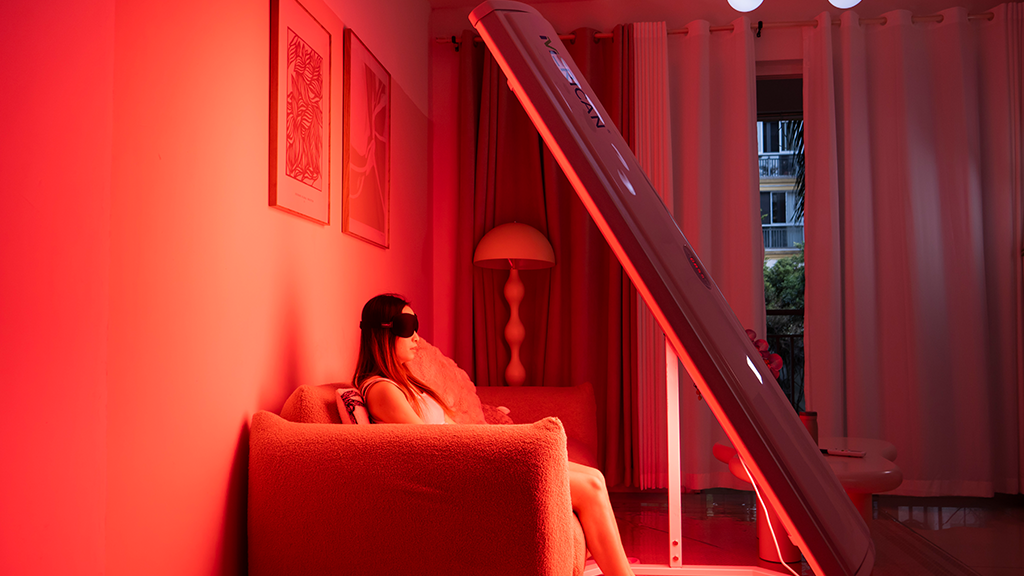
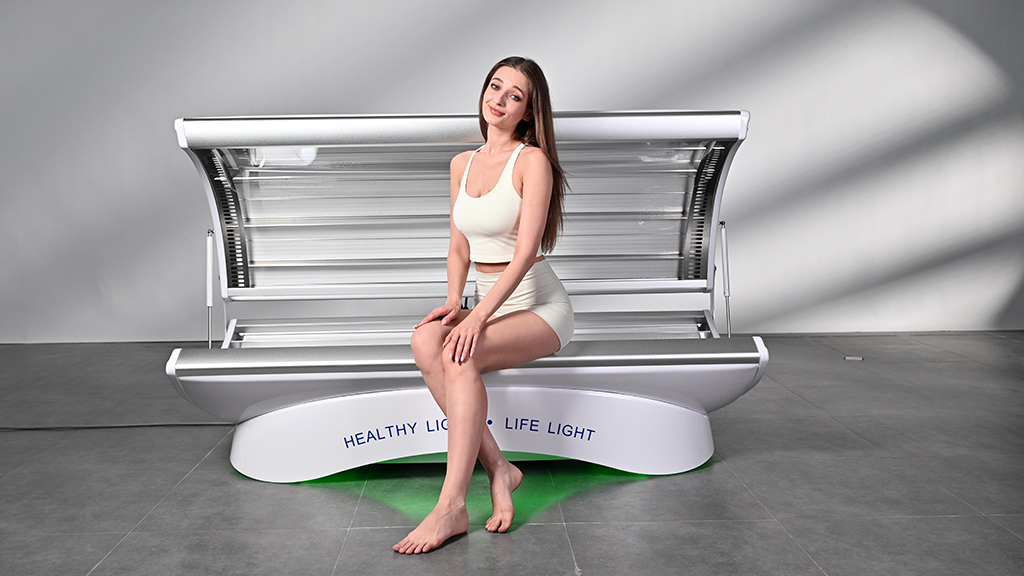
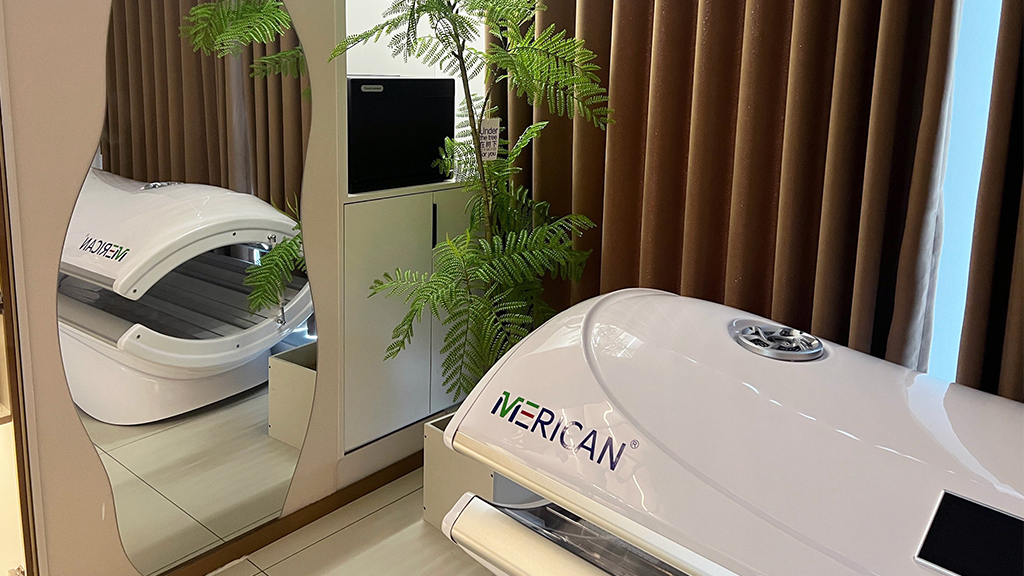
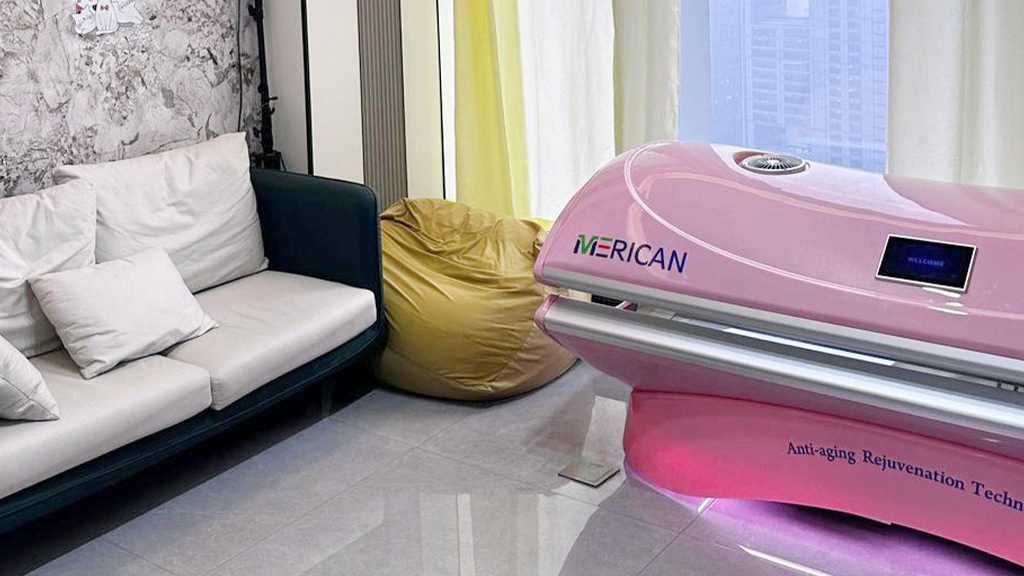
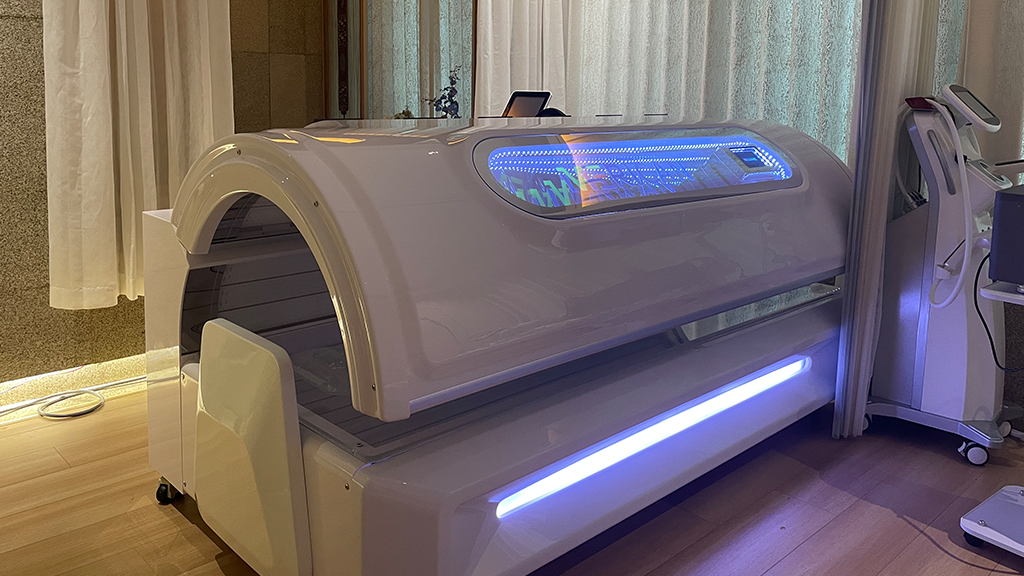
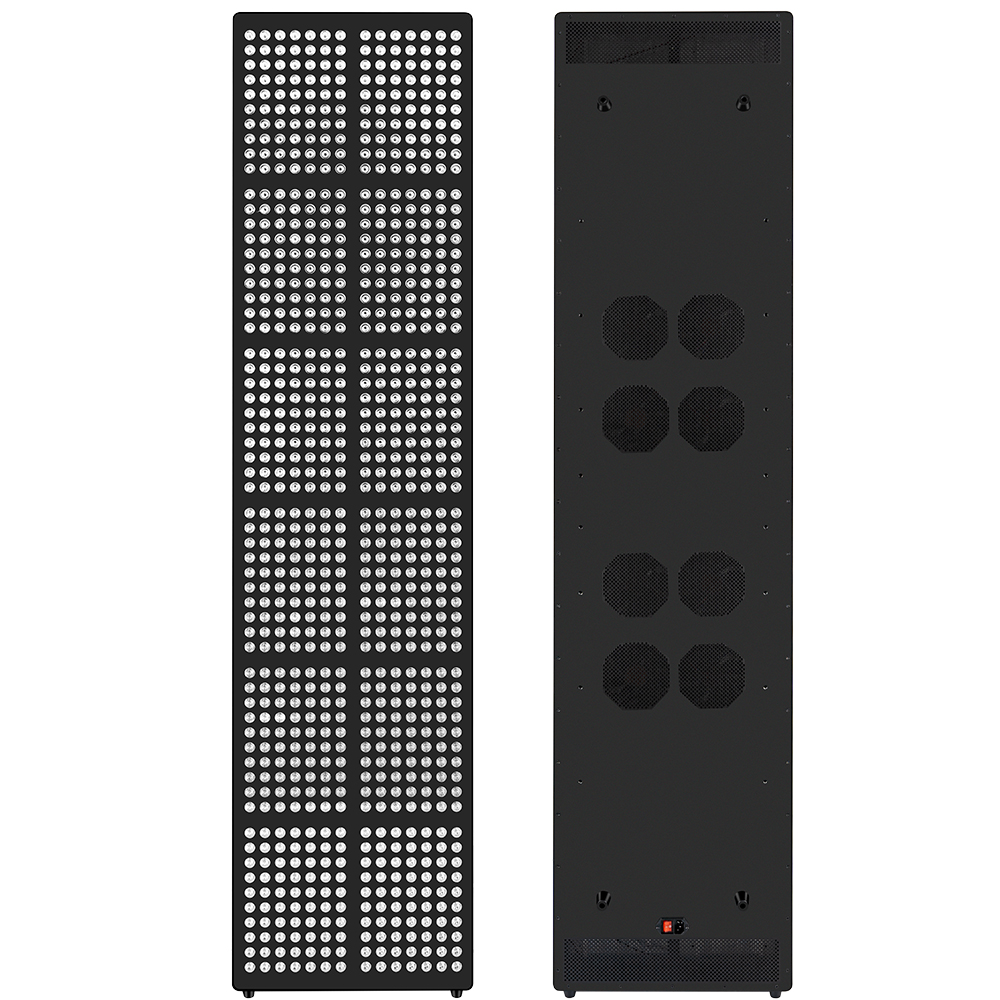
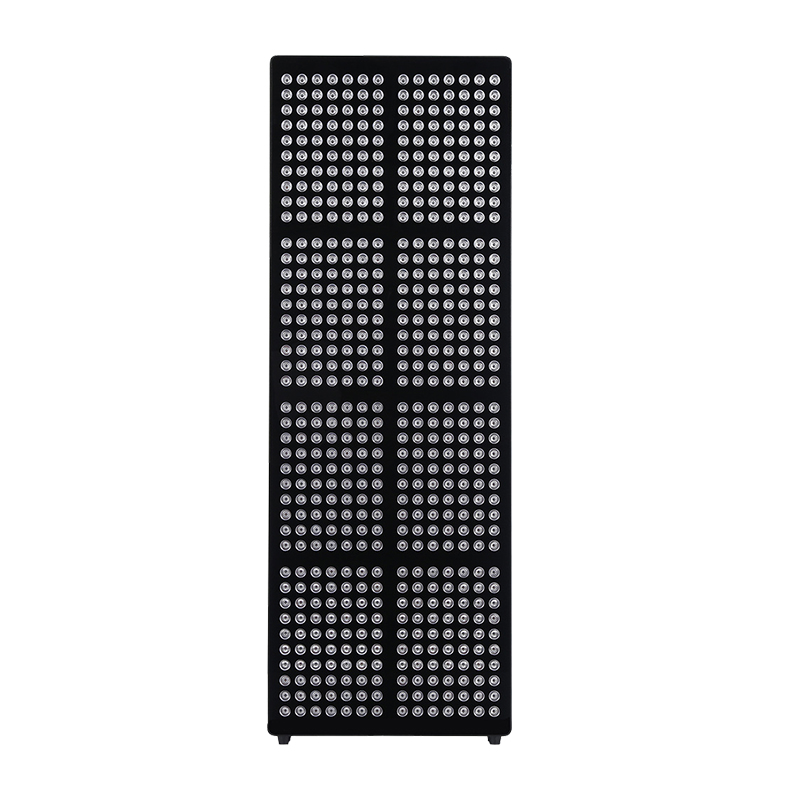
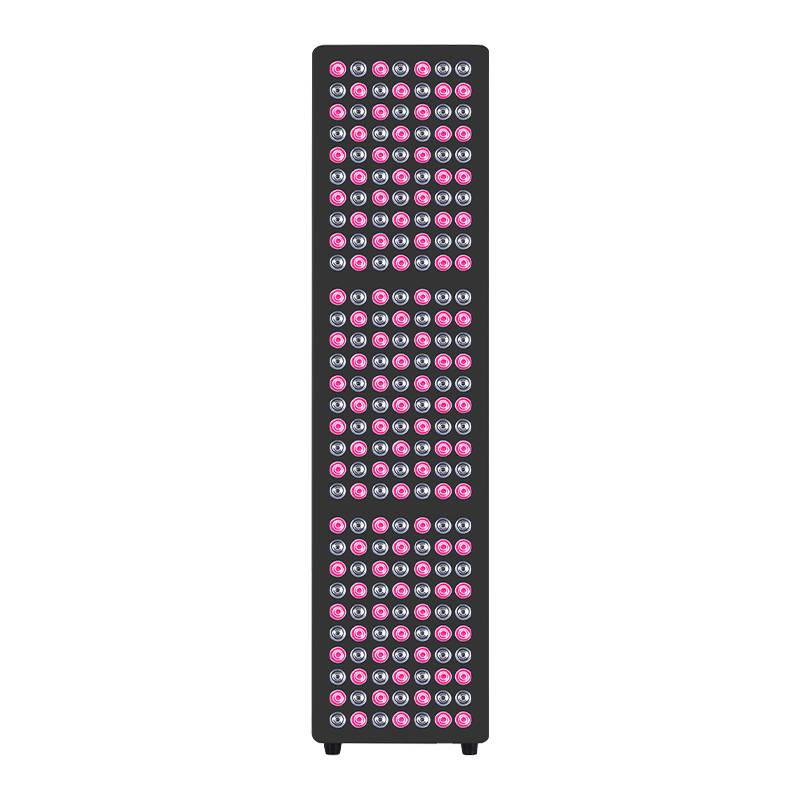
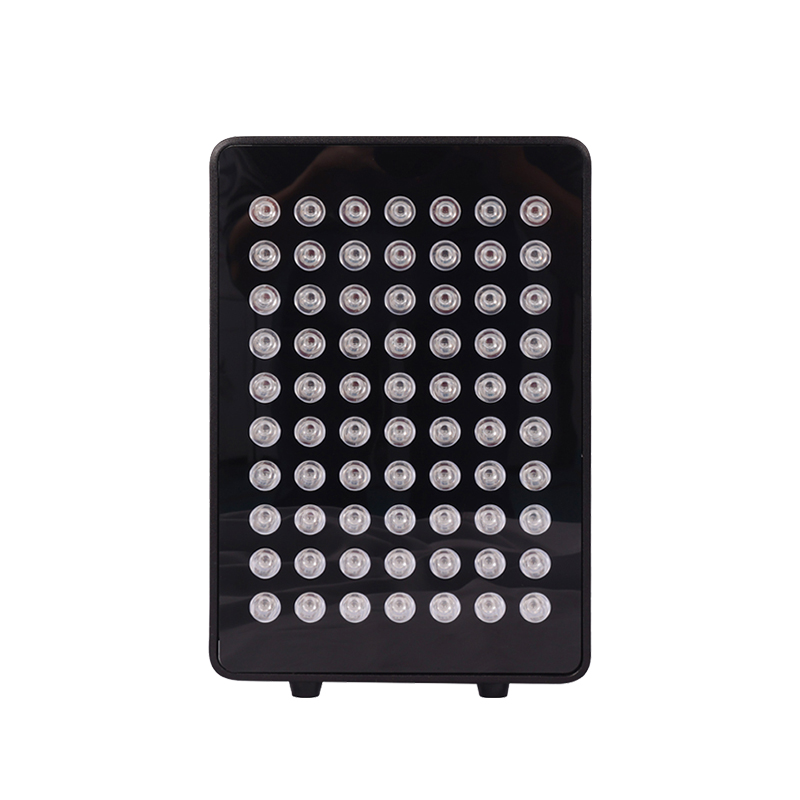
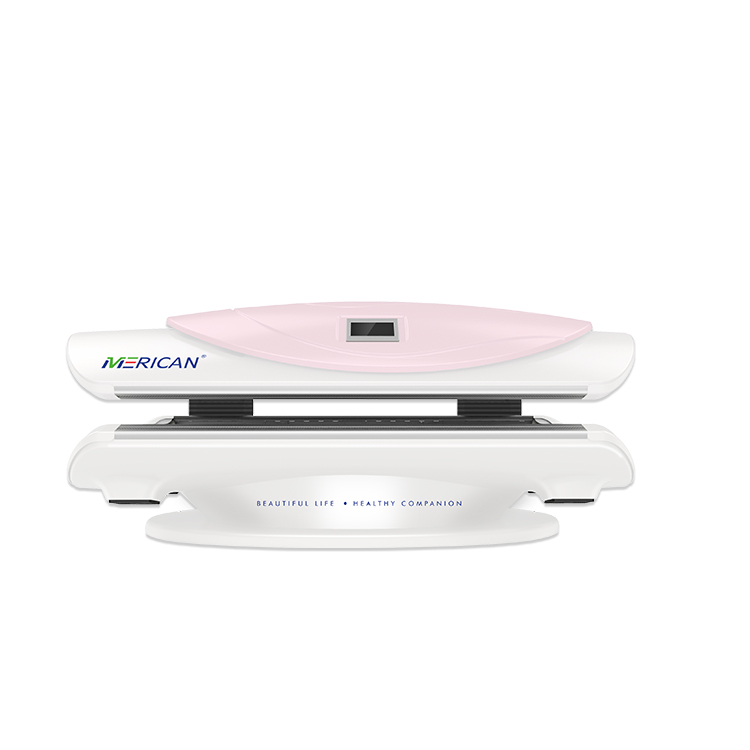
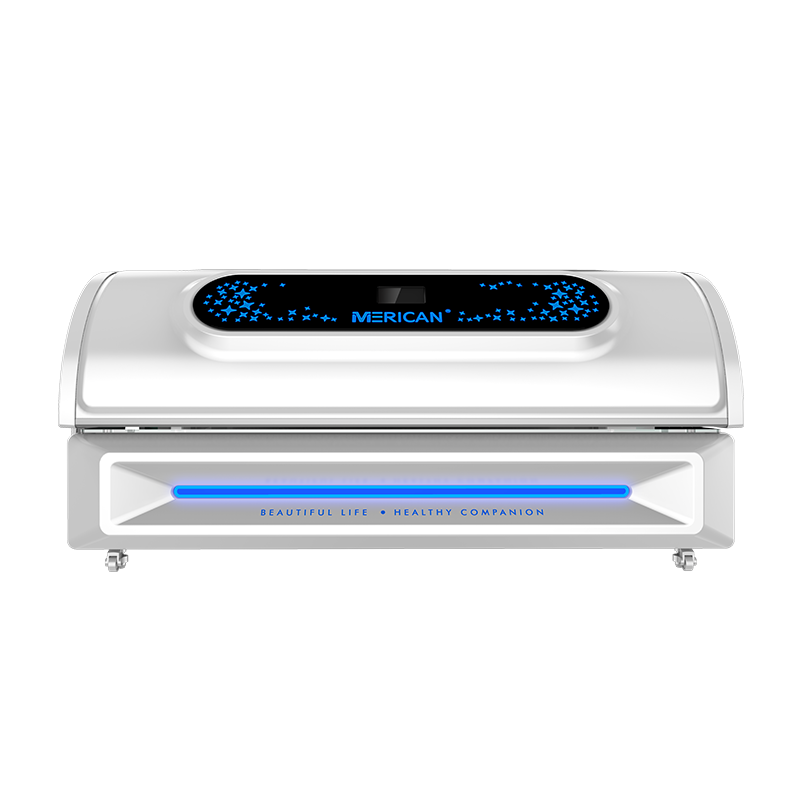
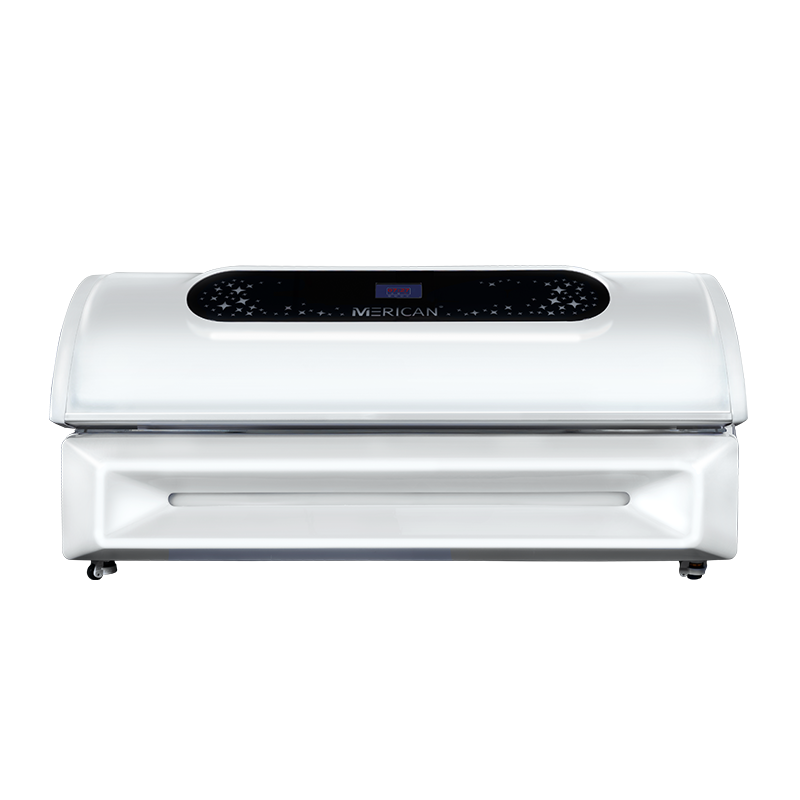
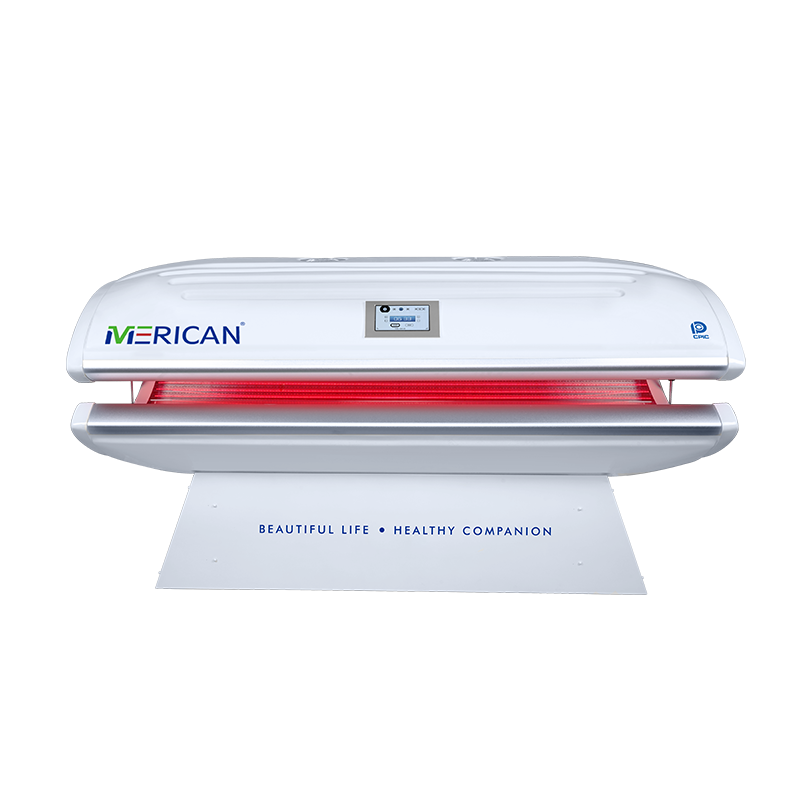
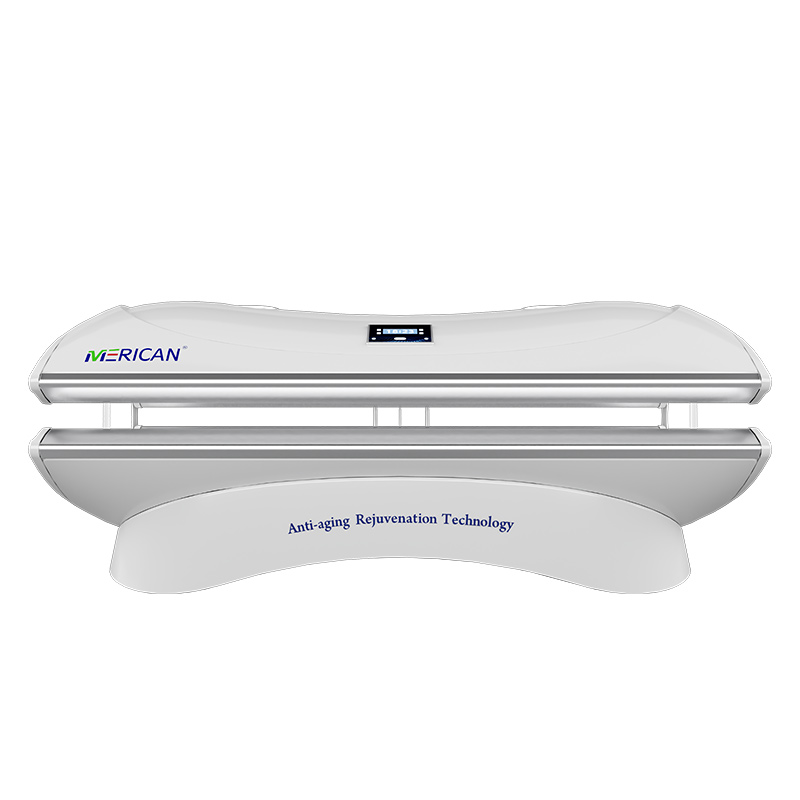
Using a red light therapy bed is generally straightforward, but there are some guidelines and tips to ensure you get the best results while staying safe. Here’s how to use one:
1. Pre-Treatment Preparation
- Clean Your Skin: Make sure your skin is free from lotions, makeup, or oils before the session, as they can block the light or cause skin irritation.
- Wear Protective Eye Gear: Although red light is not harmful to the eyes, some devices may emit bright light that could be uncomfortable or cause strain. Some beds may provide eye protection, or you may need to wear your own (e.g., goggles).
- Set the Temperature: Ensure that the therapy bed is at a comfortable temperature, especially if you’re using a full-body bed. Some people find the heat from the lights a bit intense after longer sessions.
2. Position Yourself in the Bed
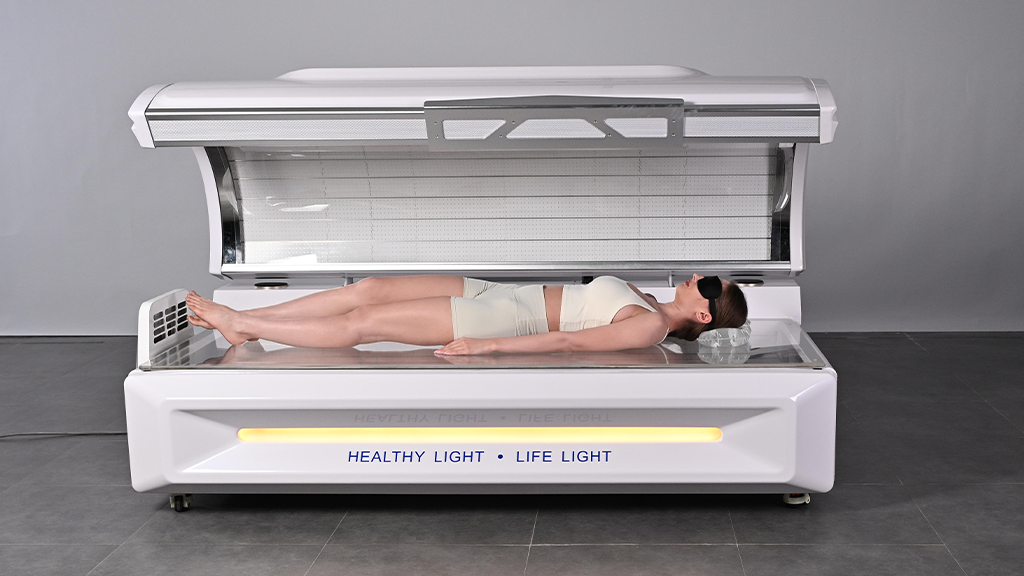
- Lie Down Comfortably: Most red light therapy beds are designed for you to lie down while the lights are positioned above or around you.
- Expose Target Areas: If you’re using the bed for general skin health or anti-aging, make sure your entire body is exposed to the light. For localized treatments (like acne or joint pain), focus on the areas that need treatment.
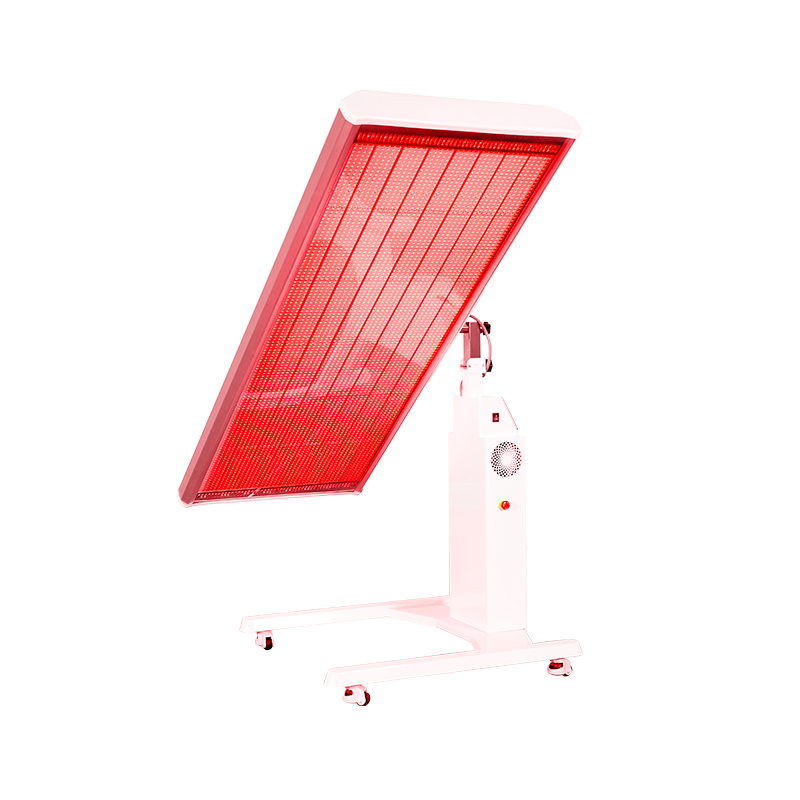
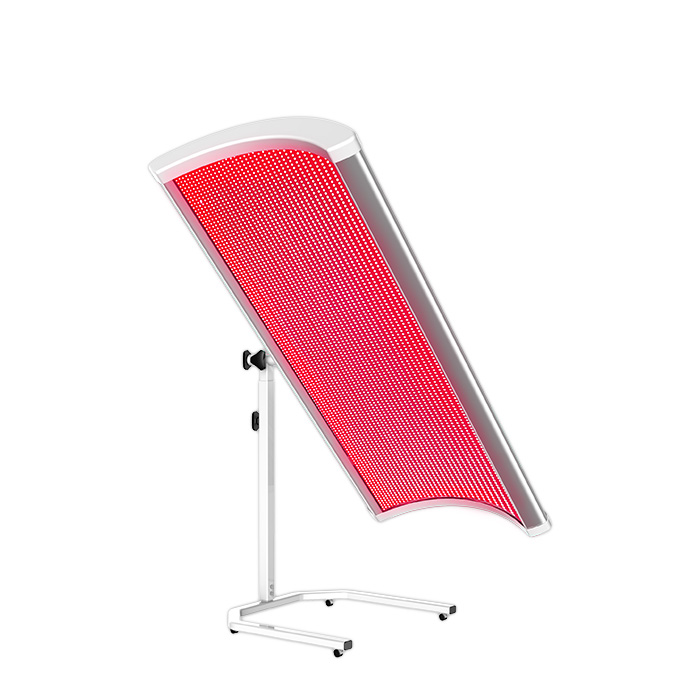
- Positioning: Some beds allow you to adjust the angle of the panels. If you’re using a full-body bed, aim to lie flat, making sure that the light covers your body evenly.
3. Set the Timer
- Duration: A typical red light therapy session lasts anywhere from 10 to 20 minutes. Some beds allow you to adjust the time based on the type of therapy you want. Always follow the manufacturer’s guidelines for optimal session length.
- Frequency: For general skin benefits, 3–5 times per week is common. For specific therapeutic purposes, such as reducing pain or inflammation, you might use it more frequently at first (e.g., daily) and then taper off.
4. Relax and Let the Therapy Work
- Stay Still: Red light therapy requires direct exposure to the skin, so it’s important to stay as still as possible to ensure the light can penetrate deeply into the tissues.
- Avoid Overexposure: Do not exceed the recommended session times. While red light therapy is non-invasive and generally safe, prolonged exposure is unnecessary and may not yield better results.
5. Post-Treatment Care
- Hydrate: Red light therapy can stimulate cell activity, so drinking water after a session can help the body process any effects.
- Skin Care: If your goal is to improve skin health, consider applying a moisturizer after the session to keep your skin hydrated.
6. Consistency is Key
- Follow a Routine: For noticeable results, consistency is important. Red light therapy works gradually, so sticking to a regular schedule will provide the best outcomes.
General Guidelines:
- Start Slow: If you are new to red light therapy, start with shorter sessions (around 5–10 minutes) and gradually increase the duration as your body adjusts.
- Spacing Between Sessions: Ideally, give your body 24 hours between sessions to allow your cells to repair and regenerate.
Safety Tips:
- Avoid Tanning Beds: While some tanning beds may offer red light therapy, don’t use a UV tanning bed if your goal is to benefit from red light therapy. UV light can cause skin damage, and red light therapy does not work in conjunction with UV exposure.
- Consult a Professional: If you have specific skin conditions, medical concerns, or are pregnant, it’s always a good idea to consult with a healthcare provider before starting red light therapy.
By following these steps, you’ll be able to use a red light therapy bed effectively and safely, helping you achieve your skin, health, and wellness goals!

