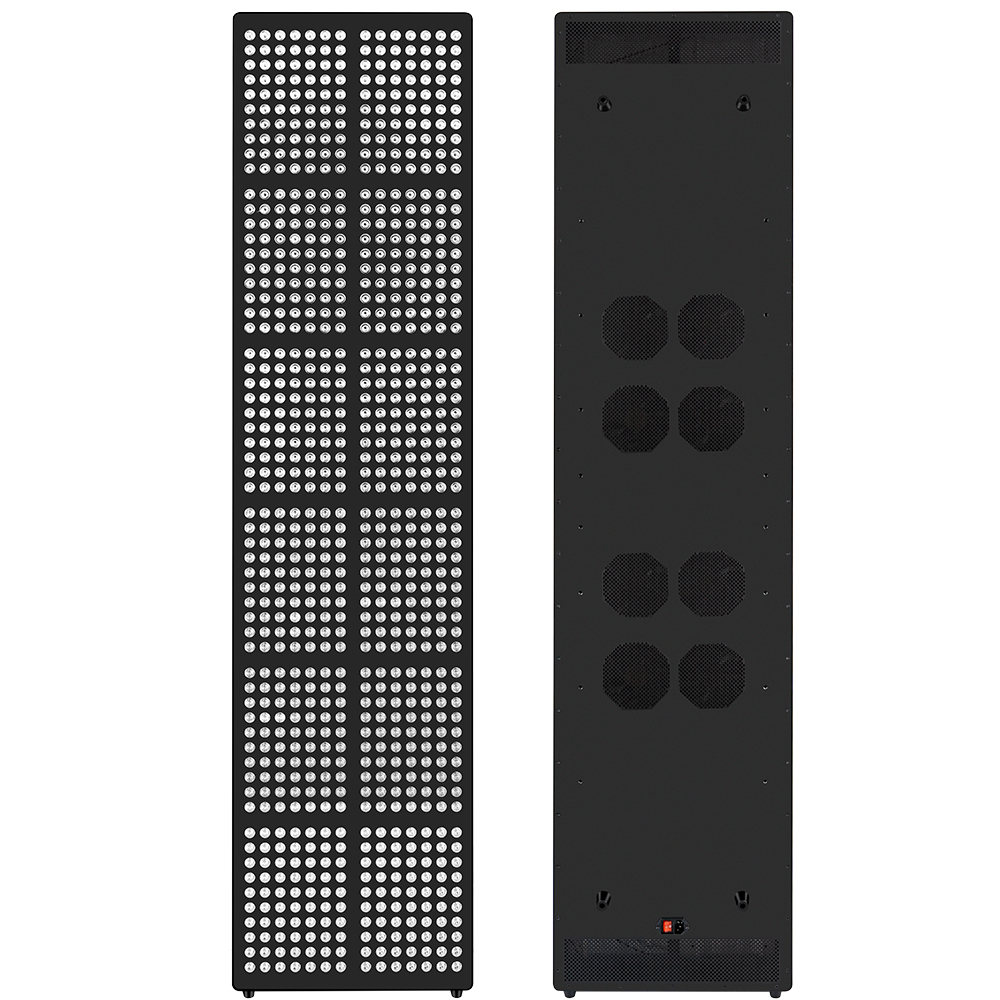
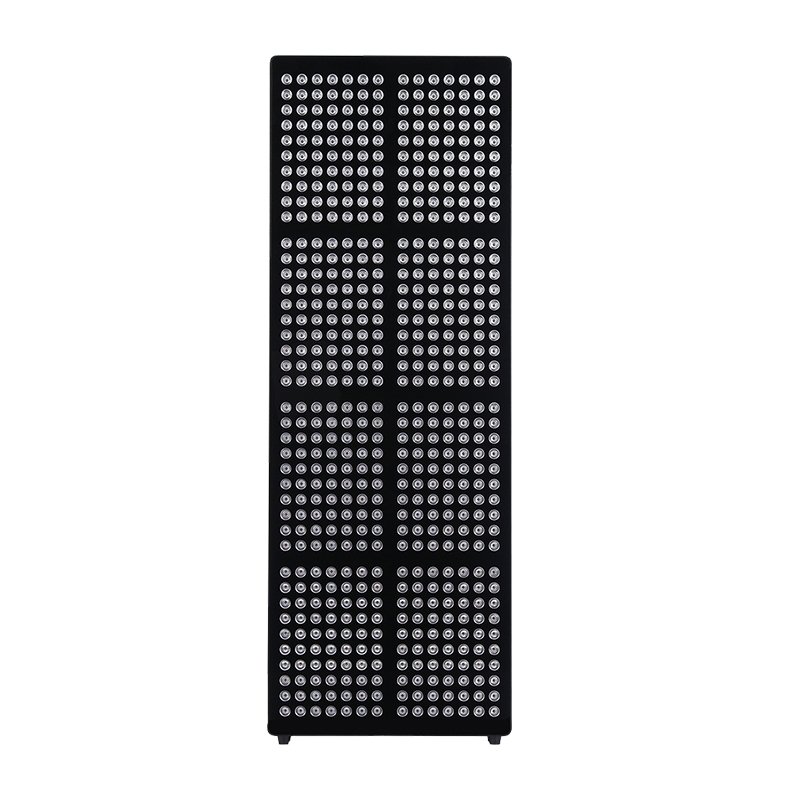
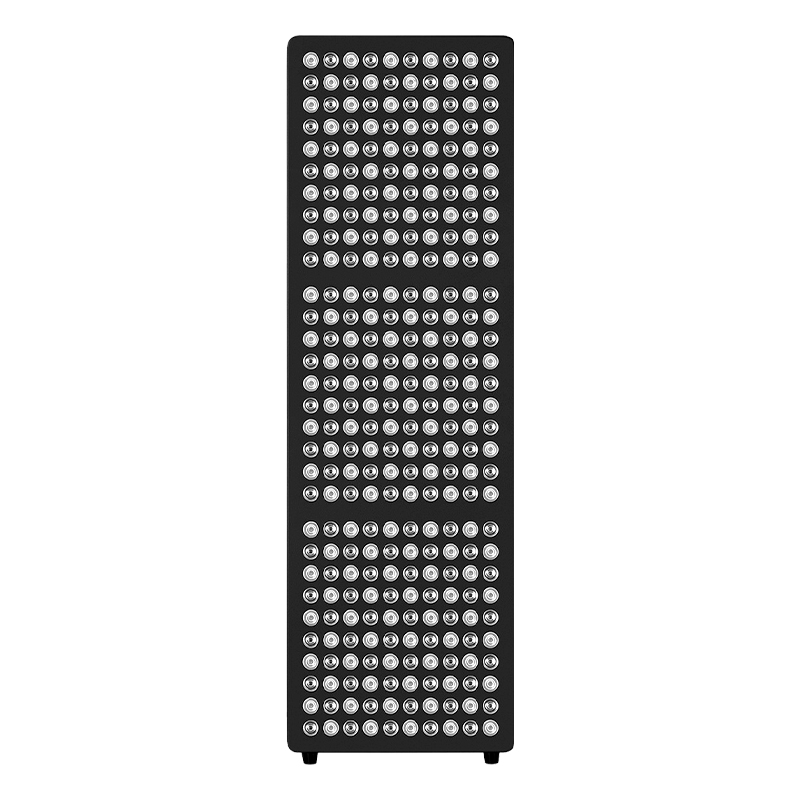
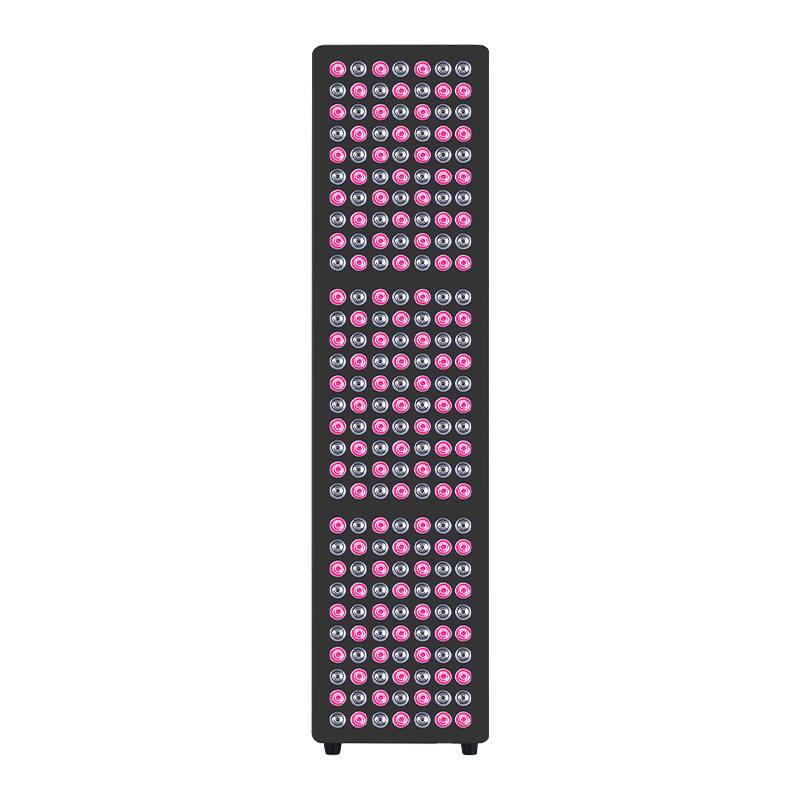
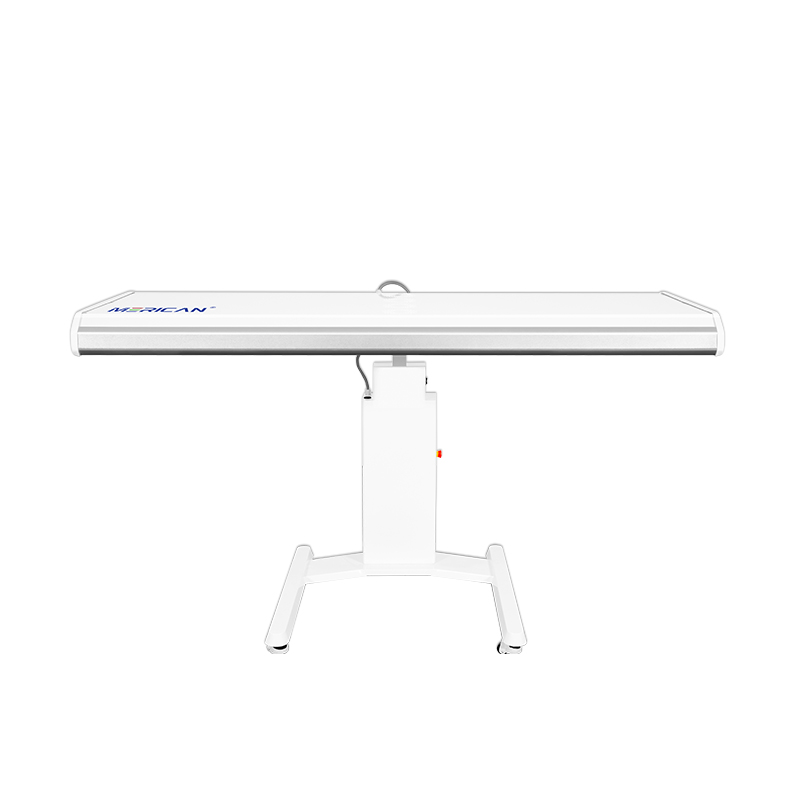
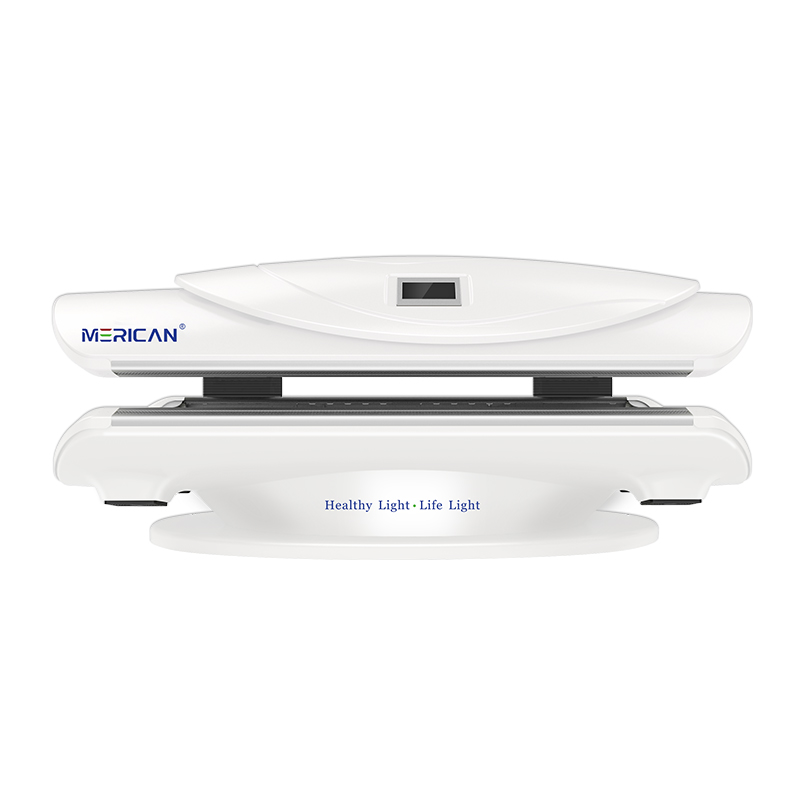
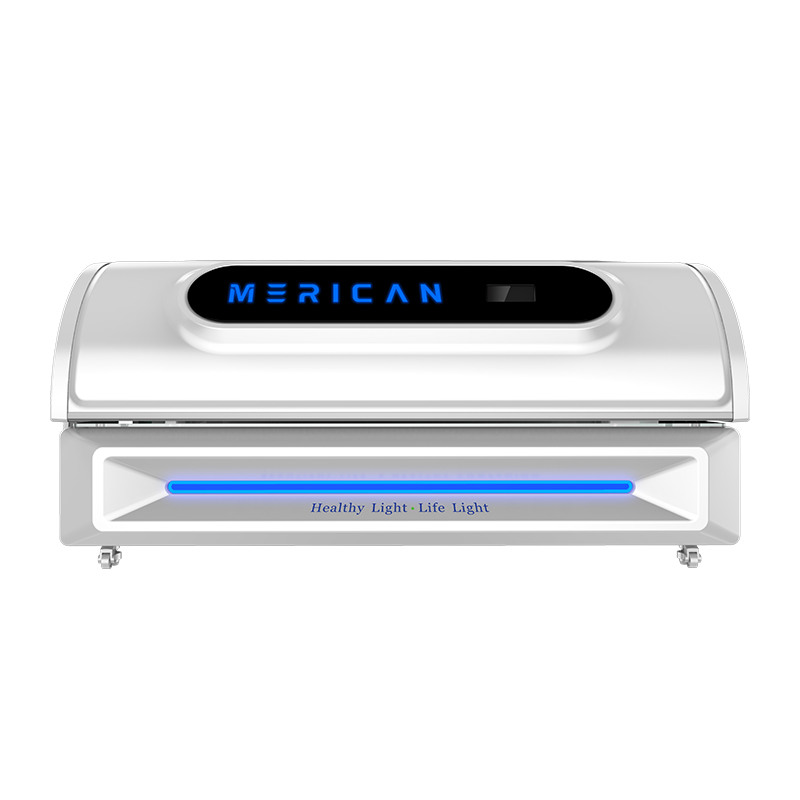
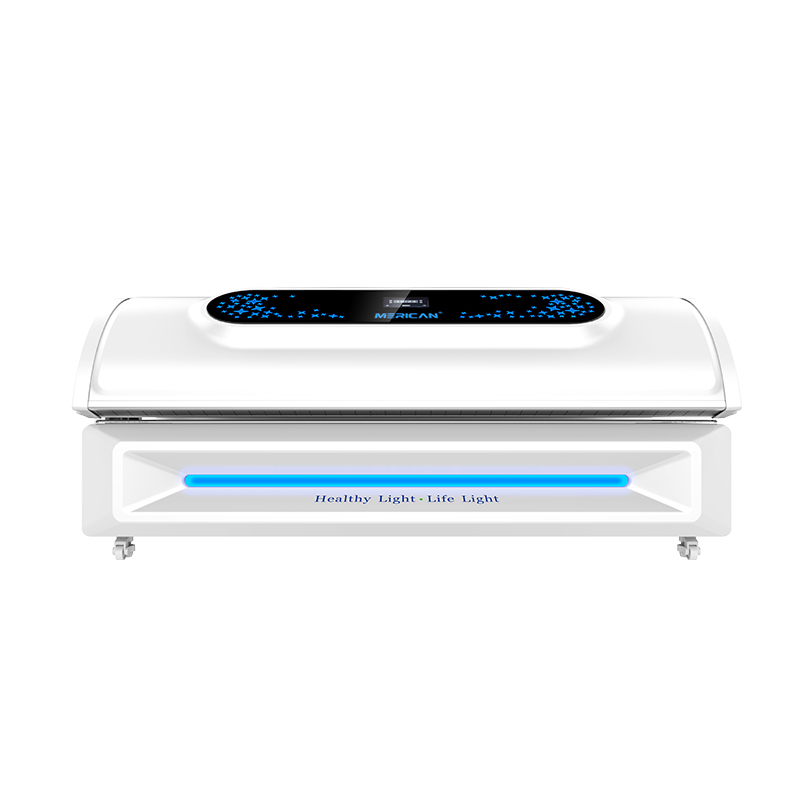
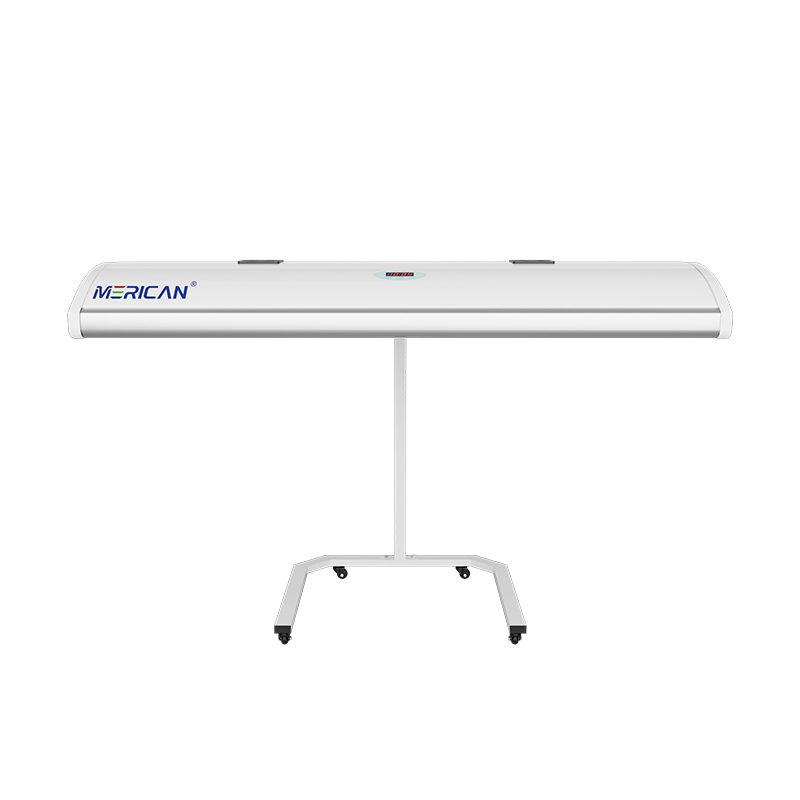
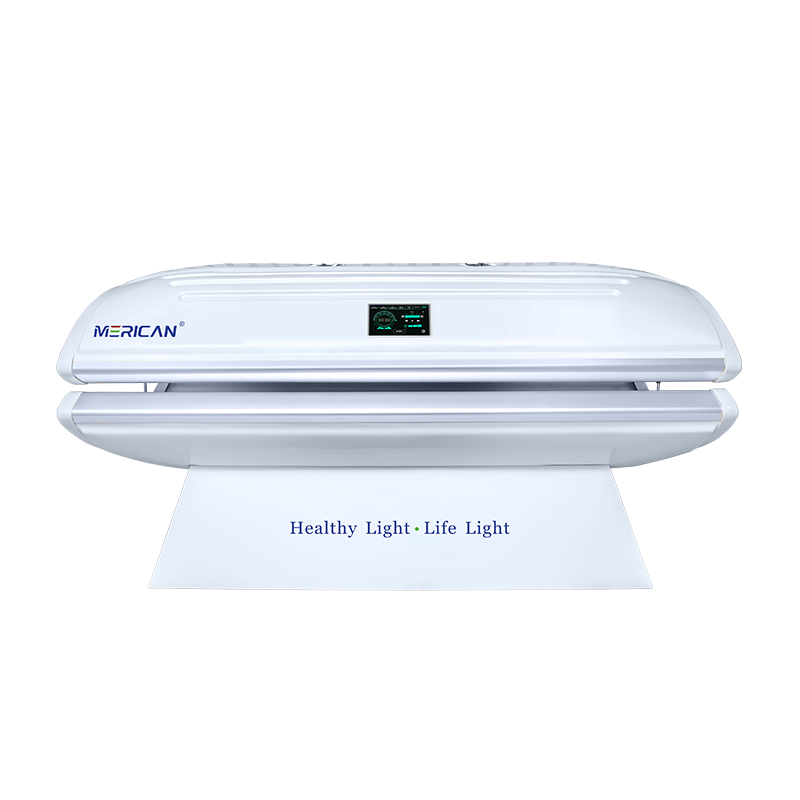
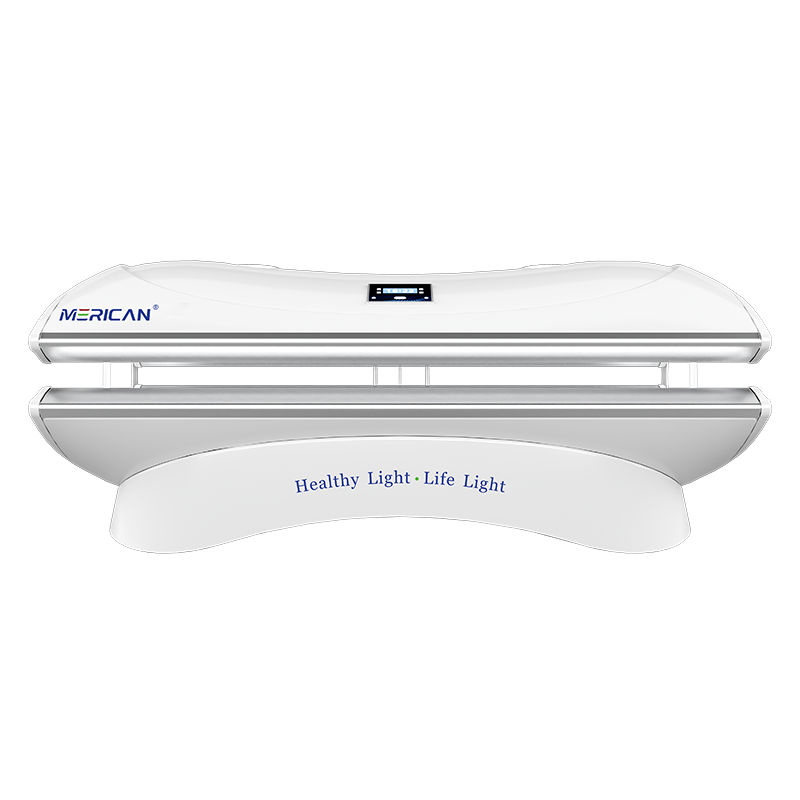
Using a red light therapy bed correctly involves four stages: preparation, session setup, the session itself, and post-session care.
Step 1: Prepare Before Your Session
Good preparation ensures that the light reaches your skin without interference.
Remove Clothing and Jewelry
Light works best when it reaches the skin directly. Remove clothing from the areas you want to treat, and take off jewelry, watches, and heavy accessories that could block the light.
Clean Your Skin
Wash off sunscreen, makeup, and thick lotions before a session. These products can reflect or absorb light and reduce the dose that reaches the tissue.
Avoid Photosensitizing Products
Some medications and skincare ingredients, such as certain retinoids and acne treatments, can increase light sensitivity. Check product labels and consult your healthcare provider if you are unsure.
Stay Hydrated
Sessions are often warm and relaxing, so drinking water beforehand is a sensible habit, particularly before back-to-back wellness treatments.
Step 2: Set Up the Bed
Correct settings ensure you receive a consistent, appropriate dose.
Choose the Session Time
Start with 10–15 minutes per session, especially if you are new to light therapy. More exposure is not automatically better, and session times can be adjusted gradually based on comfort and goals.
Select the Wavelength Mode
If your bed offers separate modes, red wavelengths are commonly associated with skin-level targets, while near-infrared wavelengths penetrate deeper toward muscle and joint tissue. Many routines alternate modes or use a combined setting.
Adjust the Intensity
Begin with a moderate intensity setting. Increase it only if the session remains comfortable and the manufacturer’s guidance allows it.
Position Yourself Correctly
Lie flat in the center of the bed so the panels above and below are evenly spaced from your body. Even positioning supports uniform light distribution across the front and back of the body.
Step 3: Complete the Session
Protect Your Eyes
Use the goggles supplied with the bed or keep your eyes closed throughout the session, particularly when panels are positioned near the face. Follow the manufacturer’s eye-safety guidance at all times.
Relax and Stay Still
A session is simply 10–20 minutes of quiet rest. Remaining still keeps the distance between your skin and the panels consistent, which helps deliver a steady dose. Many users treat the time as meditation or a screen-free break.
End the Session Promptly
Exit the bed when the timer ends. Extending sessions beyond the recommended duration does not accelerate results and can cause unnecessary warmth or mild redness.
Step 4: Care After the Session
Rehydrate
Drink water after the session, especially if you combined light therapy with exercise, sauna use, or other warm treatments.
Moisturize If Needed
Light therapy is non-drying for most people, but a light moisturizer can be applied afterward if your skin feels dry. Wait until after the session so products do not block the light during exposure.
Track Your Results
Keep simple notes on skin appearance, muscle soreness, sleep, and recovery. Individual responses vary, and a short log helps you judge whether your routine is working.